How to Prepare Matcha Tea Powder
by Abby Morrison
November 01, 2019
Welcome to part three of our Matcha 101 series. If you missed them, please feel free to check out part one on what matcha is and part two on the specialized tools you'll need to prepare it, which, while not necessary to read first, will help prepare you for this post.
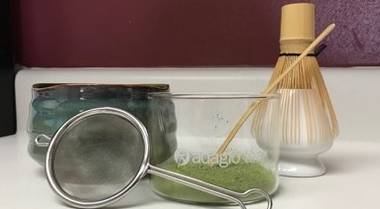
So now that you know what matcha is and have all of your supplies ready, how do you use them? Let's dive in.
Instructions
Step 1: Heat your water to 160-180°F.
Step 2: Warm your bowl.
Pour some hot water into your bowl. This helps heat the ceramic to keep your tea at a nice toasty temperature while you make it. Since I was making mine in my Pine Chawan Bowl, I didn't fill it all the way to save water, but you can do it however you like. Basically you just don't want a cold bowl. After you empty the water out, make sure to dry the bowl so you aren't sifting your matcha onto water. Because of the temperature of my bowl when I was done, just blowing the last few drops clear worked just fine.Step 3: Sift your matcha.
Using your Matcha Accessories! Place your matcha strainer over your bowl. Using your matcha scoop, put one to two scoops (or a teaspoon) to your preferred taste into the strainer, sifting it out by either lightly shaking the strainer or lightly tapping against the bowl's rim. If there are larger clumps of matcha when you are done, use the scoop or a spoon to break them up and push them through.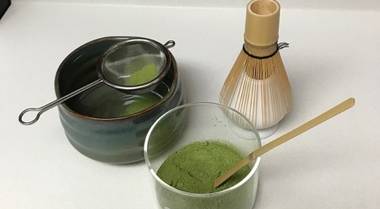
Step 4: Add a little hot water.
For this step, add a small splash of water and use your whisk to mix the powder in until it makes a paste. The first time I made matcha, I added too much water (I was going off the Matcha Source instructions that time) and, presumably because it was harder to mix the powder into so much, I had a really hard time getting it to froth up properly later. By adding just a little water, you can make sure the matcha is more fully mixed in before adding the rest.
Step 5: Add more water and whisk to a froth.
This is the step where your muscles get to shine. It's also the most fun step (other than drinking it, of course). Using a fast zig-zagging motion (the YouTube Video does a really good job demonstrating this), whisk your matcha into the rest of the water, continuing to whisk until you get a nice froth on the top. The first time I tried this, I got bubbles, but had a hard time getting them to stay. The second time when I added less water at step four, I was met with much more success.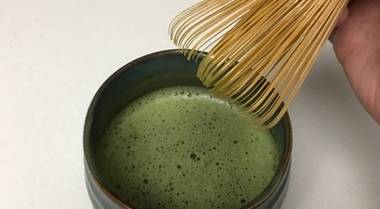
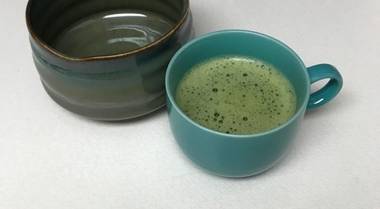
Step 6:
Transfer your matcha to your favorite cup or mug. The matcha itself is done!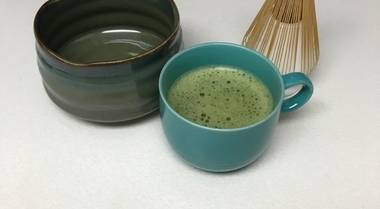
Step 7: Cleanup
While you may be tempted to skip this step or put it off for later, it's really important to remember that matcha, like all teas, can stain. Washing off your matcha whisk, whisk stand, matcha scoop, and counters right away is crucial to prolonging the life of your equipment. Be especially gentle when washing the whisk, as you do not want to damage any of the bristles. And while your bowl will not stain, when matcha dries, it does leave a residue from any un-incorporated powder, so rinsing it out earlier will make it easier to clean if you come back to it later.Step 8: Enjoy!
Now that you've made your matcha and your space is nice and clean, lean back and enjoy the results of your work! The process of making matcha itself is relaxing and gives a strong sense of satisfaction, so you should be in the perfect mental space to truly enjoy.